Configuring the Monitor in X-Plane 11
X-Plane offers various configurations for monitor displays for single and multiple-monitor set-up's. Check out this in-depth video tutorial below, or keep scrolling to read about some common settings and their various uses.
Getting Started
The settings for monitor configuration can be accessed through the graphics tab of the settings window.
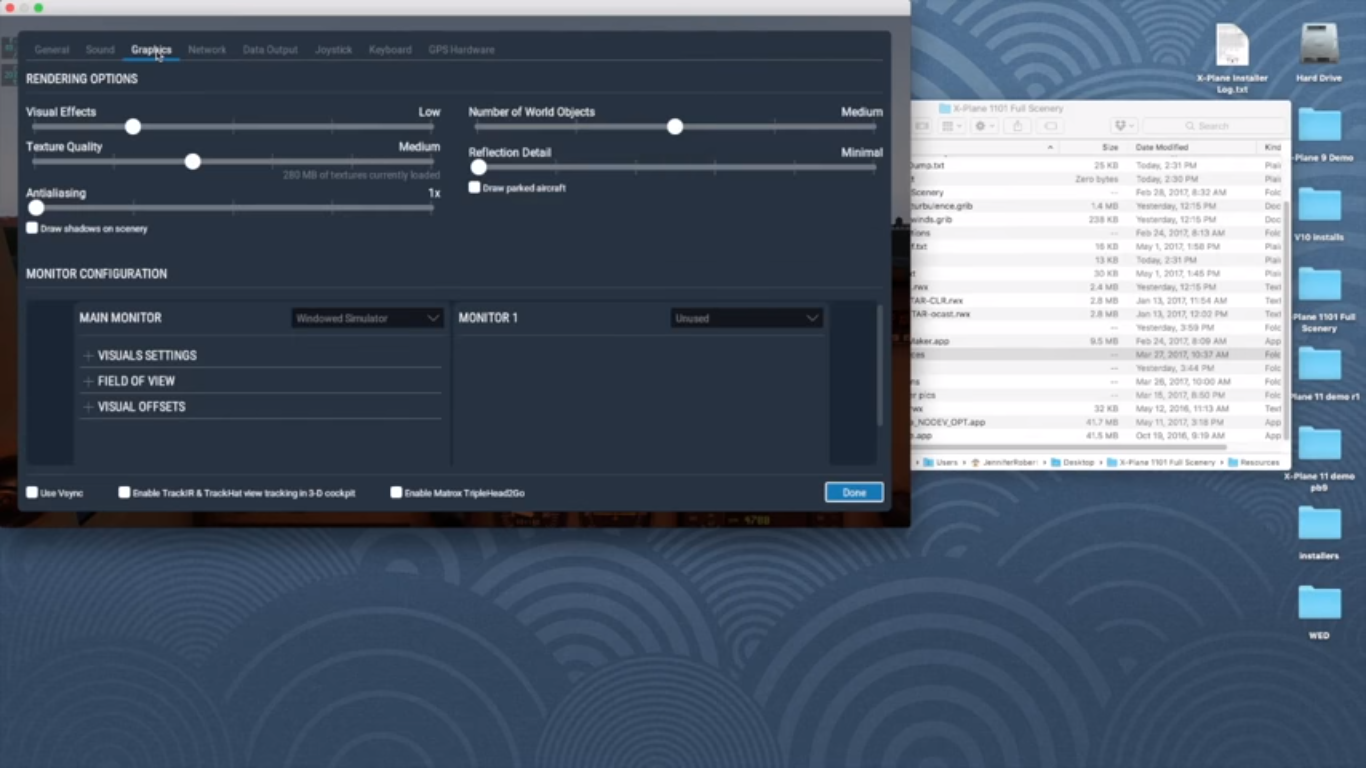 There are options for windowed or full-screen mode in the drop-down menu, and you can also connect multiple monitors to your computer and configure each one separately in this screen.
If you choose to run X-Plane windowed, you can make the window as small or large as you like by clicking and dragging the bottom right corner. The window can even be stretched across multiple monitors for one really large cockpit.
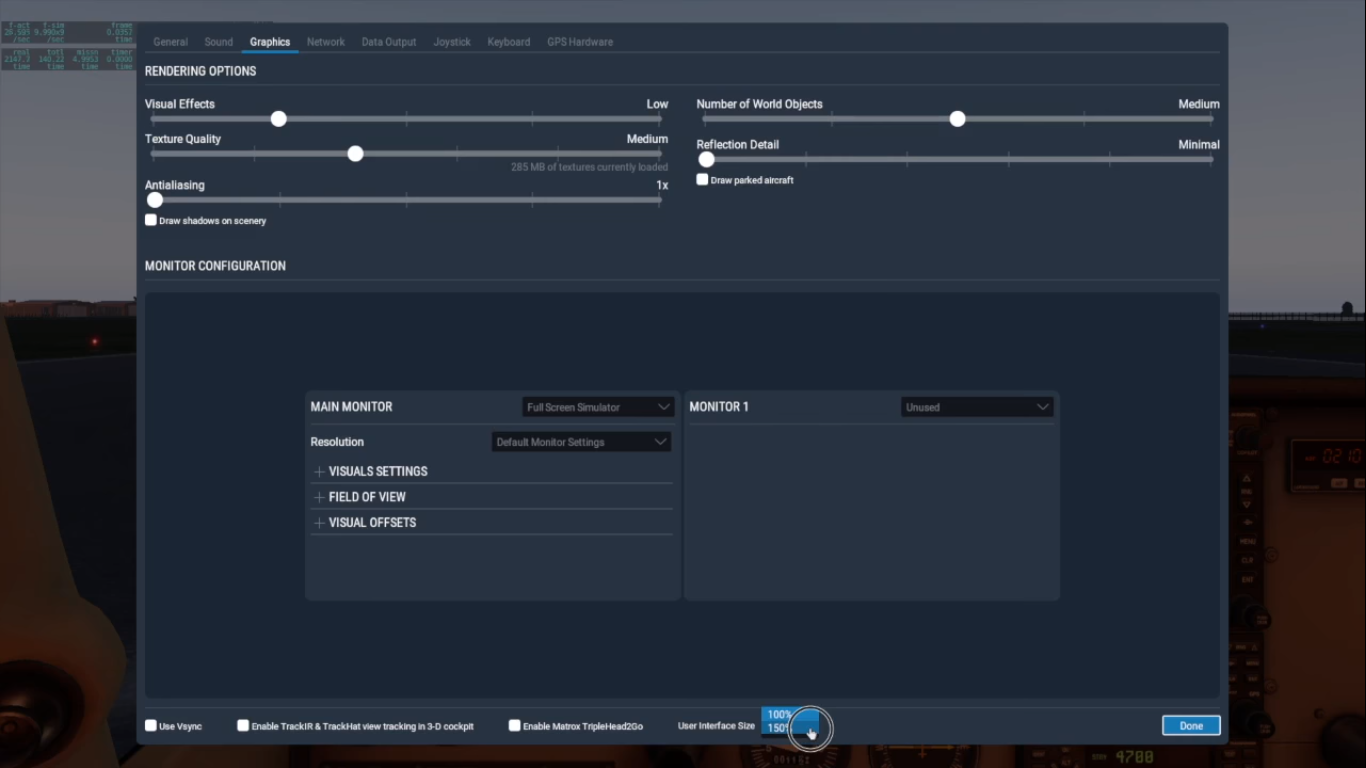
If you choose to use X-Plane full screen, you will have an option to change the monitor resolution from a drop-down menu.

By default, we use the settings from the OS but you can change that with the drop down here or by picking custom and manually entering a size.
You can also change user interface size from the drop-down menu at the bottom of the screen, which can be a great solution for high-resolution monitors or if you have a hard time reading small text.
Visual Settings and Field of View
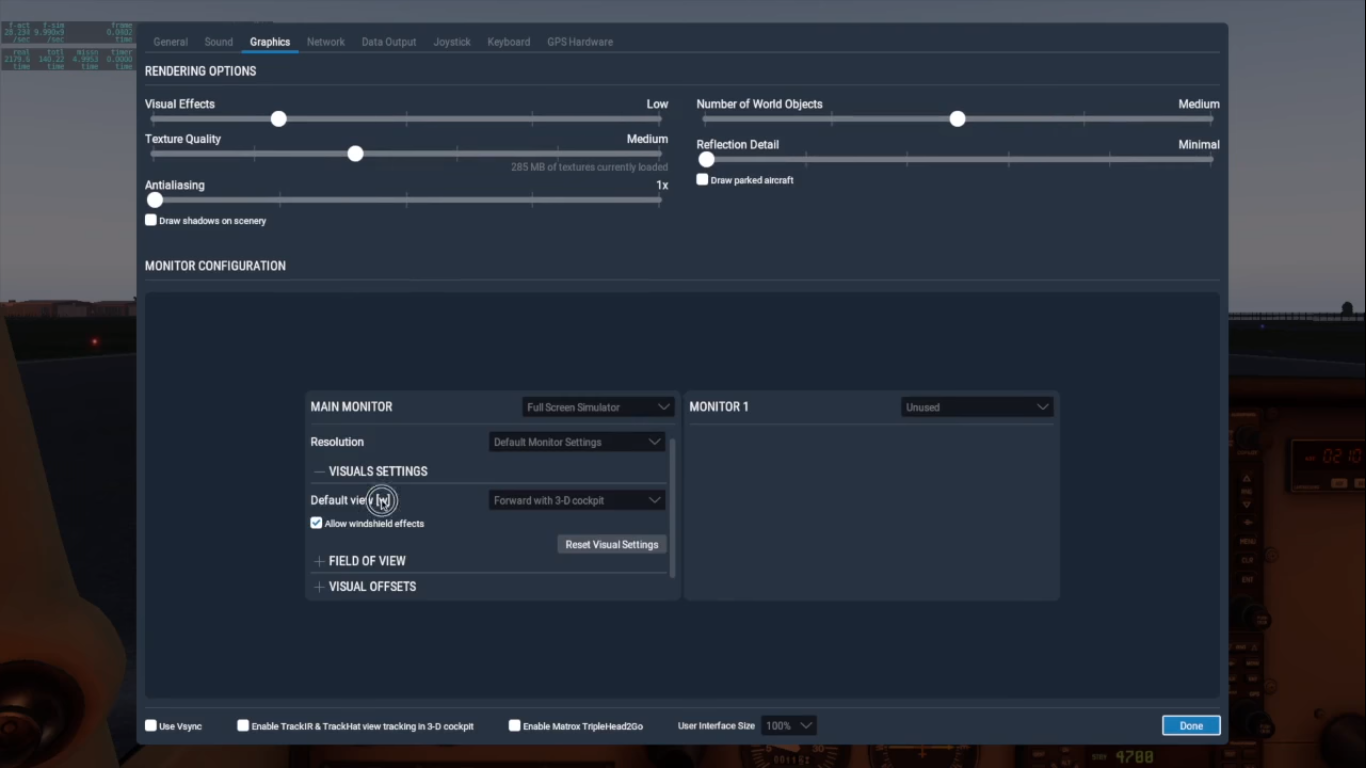
For further customization, you can expand the Visual Settings tab to change what view is associated with the default view (tied to the W key). The default setting for this view is 3D cockpit. However, you could also use the 2D panel view (the default in version 10), the HUD (heads up display), or just the scenery.
In the Field of View tab, you can change what extent of the simulator is seen on screen. By default, the field of view is at 60° but you can increase that number to see more of the cockpit. (Note: If you set this too high, you can get some distortion.)
Set-up for Multiple Monitors
You will probably want to adjust the Visual Offsets settings if you're using multiple monitors. However, keep in mind that X-Plane only supports one type of view at a time when using only one computer. The lateral rotation field changes the view angle along the x-axis. The vertical rotation changes it up-and-down on the y-axis. Adjusting the roll offset can be used to turn the view sideways.

With a 2 monitor setup, to make your extra monitor view out the passenger window, adjust the lateral rotation offset.
If you have a 3 monitor wraparound setup, you'll probably want to set the left monitor's lateral rotational offset to a negative number, leave the center monitor with no offset, and change the right monitor to a positive lateral rotational offset.
For a flat wall of monitors, check the box to enable flat fractional offsets and change ratios instead of degrees. Using a negative number moves the view left and a positive number moves the view right. A single unit moves the screen by half its width.

If you ever accidentally changed something and get a horrible and results and need to go back to the defaults, just click Reset Visual Offsets, and you'll be back where you started.
Our Manual
The X-Plane 11 manual is a great online resource for finding answers and solving problems. And best of all, its searchable. Go here and use your browser's find function or the Table of Contents to find more information.